Table of Contents
- Why Custom Blog Styling Actually Matters
- Understanding Theme Architecture: Old vs New
- Step-by-Step: Setting Up Blog Styles Metaobject
- Creating the Blog Styles Section
- Adding the Section to Your Blog Template
- What Most People Get Wrong
- Why Schema Markup Belongs in Your Blog CSS
- Good Ideas vs Bad Ideas
- Frequently Asked Questions
Why Custom Blog Styling Actually Matters
Here's what I see constantly: entrepreneurs spending thousands on professional Shopify themes, then publishing blog posts that look like they were formatted in 1995. Default theme blog styling is bare-bones at best—minimal formatting, zero visual hierarchy, no strategic callouts or CTAs. Your blog content deserves better, and more importantly, your readers need better to actually engage with your content.
Custom blog CSS isn't about making things "pretty"—it's about creating a professional reading experience that keeps visitors on your site longer, builds trust in your expertise, and guides them toward conversion. When your blogs look polished and intentional, readers assume your products and services are equally professional.
The problem? Most Shopify themes don't give you an easy way to add consistent custom styling across all blog posts. You're left choosing between pasting CSS into every single blog post (nightmare for maintenance) or editing theme files directly (breaks during updates). Neither option scales, and both create headaches.
Let me show you the systematic approach that actually works: using Shopify metaobjects to create reusable, theme-independent blog styling that applies automatically to every post you publish.
Understanding Theme Architecture: Old vs New
Sectioned Themes (2017-2020): The "Old" Approach
If you're using themes like Retina, Turbo, Empire, or other Out of the Sandbox themes, you're working with what Shopify calls "sectioned themes." These were revolutionary when they launched—finally, you could customize your homepage without touching code! But they have significant limitations:
- Template restrictions: Only certain templates support sections (homepage, product pages, collection pages)
- Blog limitations: Blog post templates are typically hardcoded with minimal customization options
-
Section requirements: Custom sections must include a
presetsblock to appear in the customizer - Rigid structure: Less flexibility in where and how you add custom functionality
Key identifier for sectioned themes: When you go to customize your theme, you'll see limited template options in the dropdown. Blog posts might not even appear as a customizable template, or if they do, you can't add/remove sections freely.
Online Store 2.0 Themes (2021+): The Modern Standard
Themes built on Shopify's Online Store 2.0 architecture (like Dawn, Refresh, and most themes released after mid-2021) work completely differently:
- Everything is sectioned: All templates—including blog posts—are fully customizable with sections
- JSON-based templates: Templates are data files, not hardcoded Liquid
- Dynamic sources: Better integration with metafields and metaobjects
-
Flexible sections: Sections can be added anywhere without strict
presetsrequirements
Why This Matters for Your Blog Styling Strategy
The approach I'm showing you works for BOTH theme types, but the setup differs slightly. Older themes require more specific configuration (particularly the presets block), while newer themes make the process more straightforward. Knowing which architecture you're working with prevents hours of frustration when sections don't appear where you expect them.
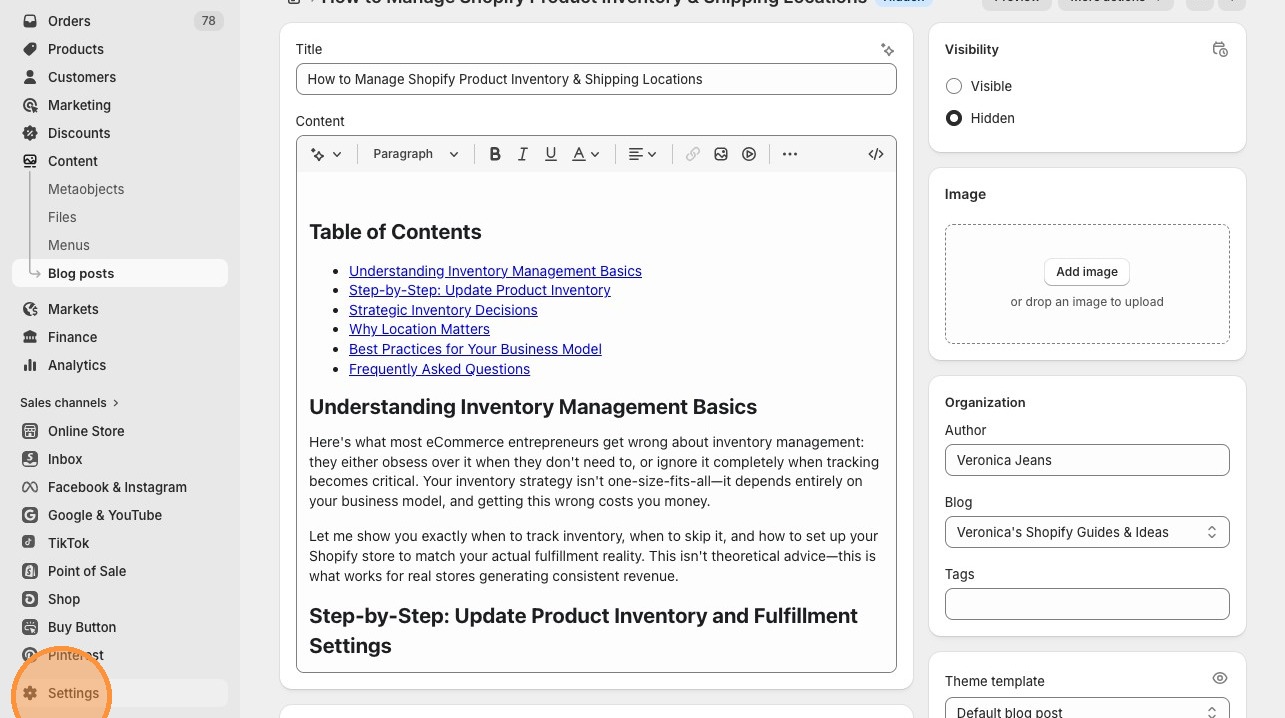
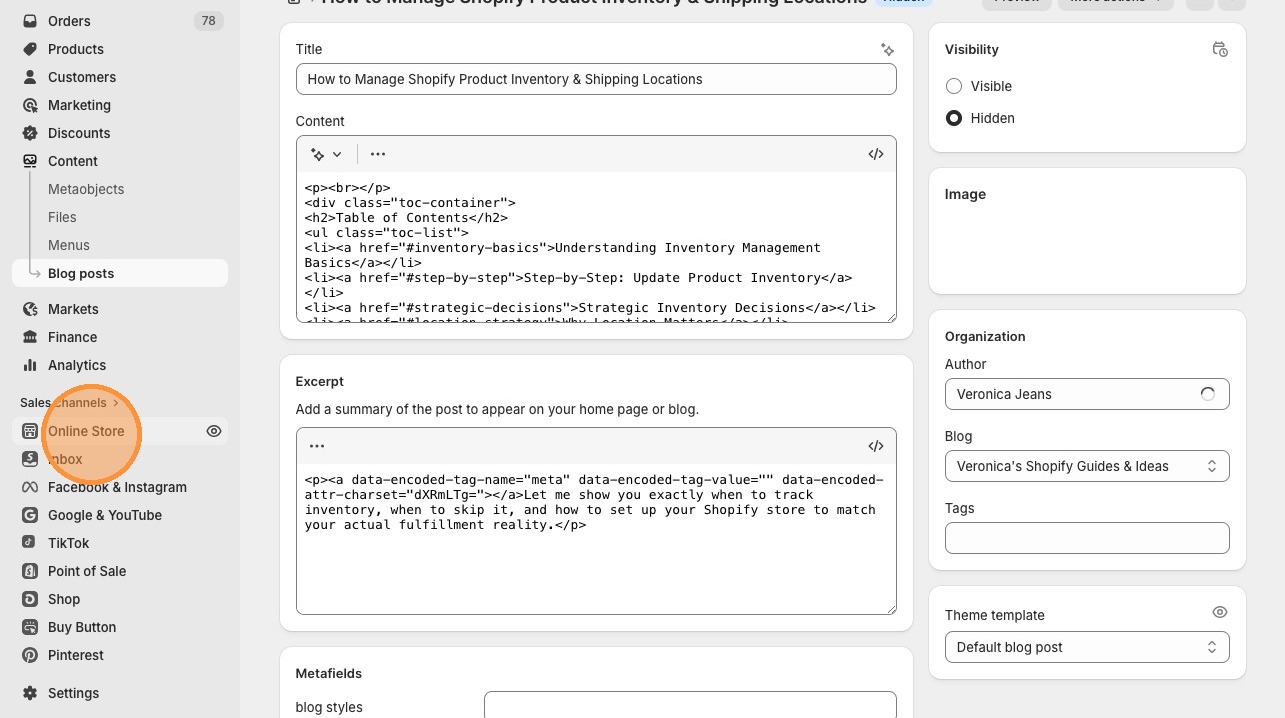
templates folder with .json files, you have an OS 2.0 theme. If you only see .liquid files in templates, you have a sectioned theme.Step-by-Step: Setting Up Blog Styles Metaobject
Metaobjects are Shopify's way of creating structured, reusable content that works independently of your theme. Think of them as custom database entries that you can reference anywhere in your store. For blog styling, we'll create a metaobject that stores your CSS code, then reference it in a section that loads on all blog posts.
Step 1: Create the Metaobject Definition
Step 1: Navigate to Settings at the bottom of your Shopify dashboard.
Step 2: Select "Custom data" then click on "Metaobjects."
Step 3: Click "Add definition" to create a new metaobject type.
Configuration:
- Name: Blog Styles
-
Type:
blog_styles(this auto-generates based on your name)
Step 4: Add a field to store your CSS code.
Click "Add field" and configure:
- Field type: Multi-line text
- Field name: CSS Code
-
Field key:
css_code(auto-generates)
Click "Save" to create the metaobject definition.
Step 2: Create Your CSS Entry
Step 5: After saving the definition, click on "Blog Styles" in your metaobjects list.
Step 6: Click "Add entry" to create your first style set.
Configuration:
- Entry name: Universal Blog Styles (or whatever makes sense for your organization)
-
CSS Code field: Paste your complete CSS code (just the CSS, no
<style>tags needed)
Click "Save" when done.
Creating the Blog Styles Section
Now we'll create a theme section that pulls your CSS from the metaobject and injects it into blog post pages. This section acts as the bridge between your stored CSS data and your live blog posts.
Step 1: Click "Online Store" in your Shopify dashboard.
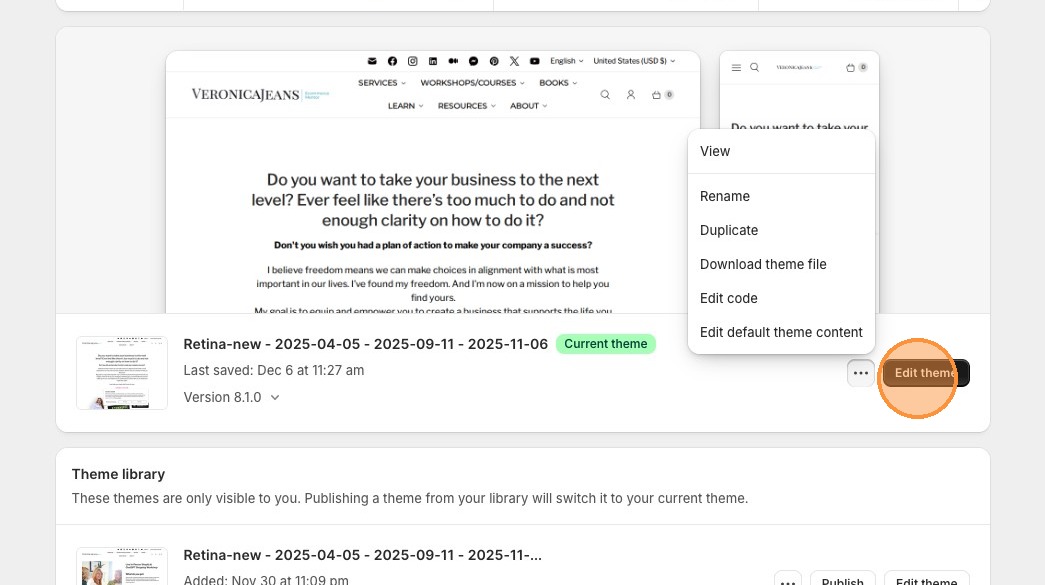
Step 2: Click the three dots next to "Customize" on your active theme.
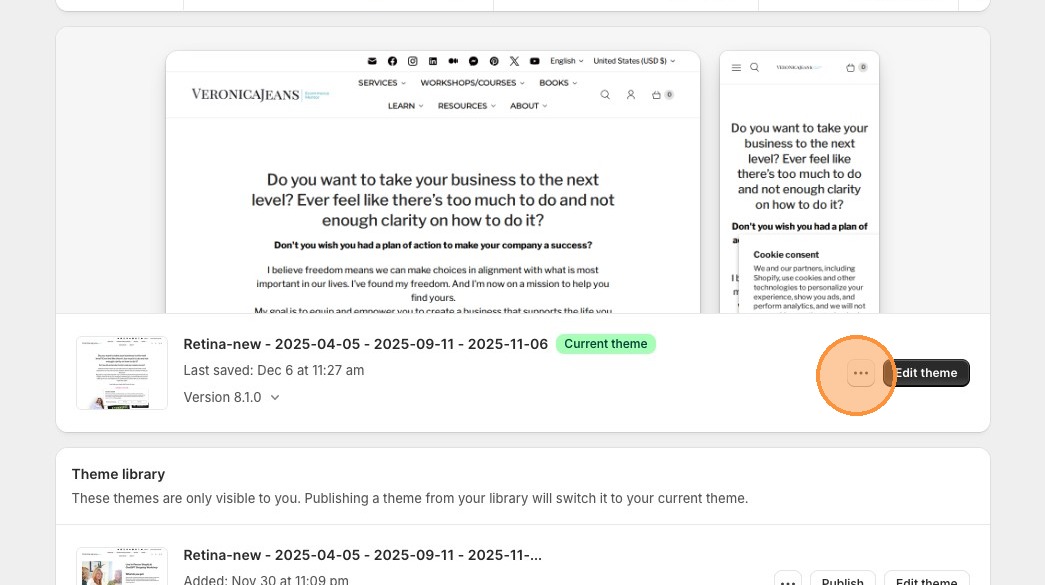
Step 3: Select "Edit code" from the dropdown menu.
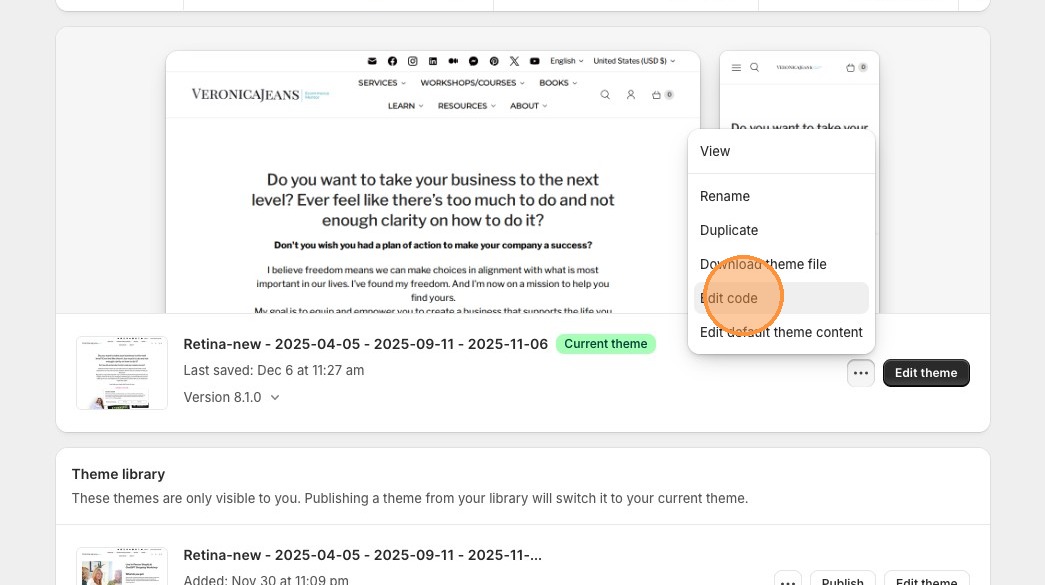
Step 4: In the code editor, find the "Sections" folder in the left sidebar. Click "Add a new section."
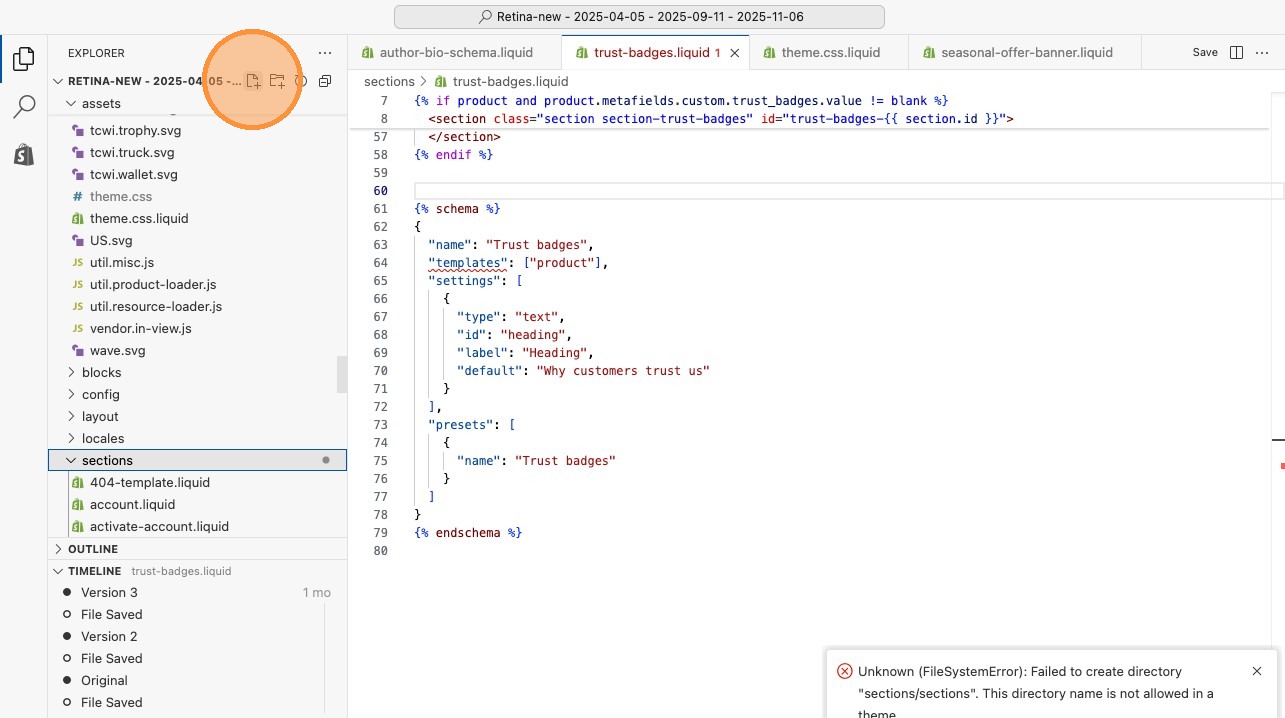
Step 5: Name your section blog-styles-metaobject (use hyphens, no spaces).
Step 6: Delete any default code and paste the following:
{%- assign blog_styles = section.settings.blog_styles_reference -%}
{% if blog_styles.css_code != blank %}
<style>
{{ blog_styles.css_code }}
</style>
{% endif %}
{% schema %}
{
"name": "Blog Styles",
"settings": [
{
"type": "metaobject",
"id": "blog_styles_reference",
"label": "Select Blog Styles",
"metaobject_type": "blog_styles"
}
],
"presets": [
{
"name": "Blog Styles"
}
]
}
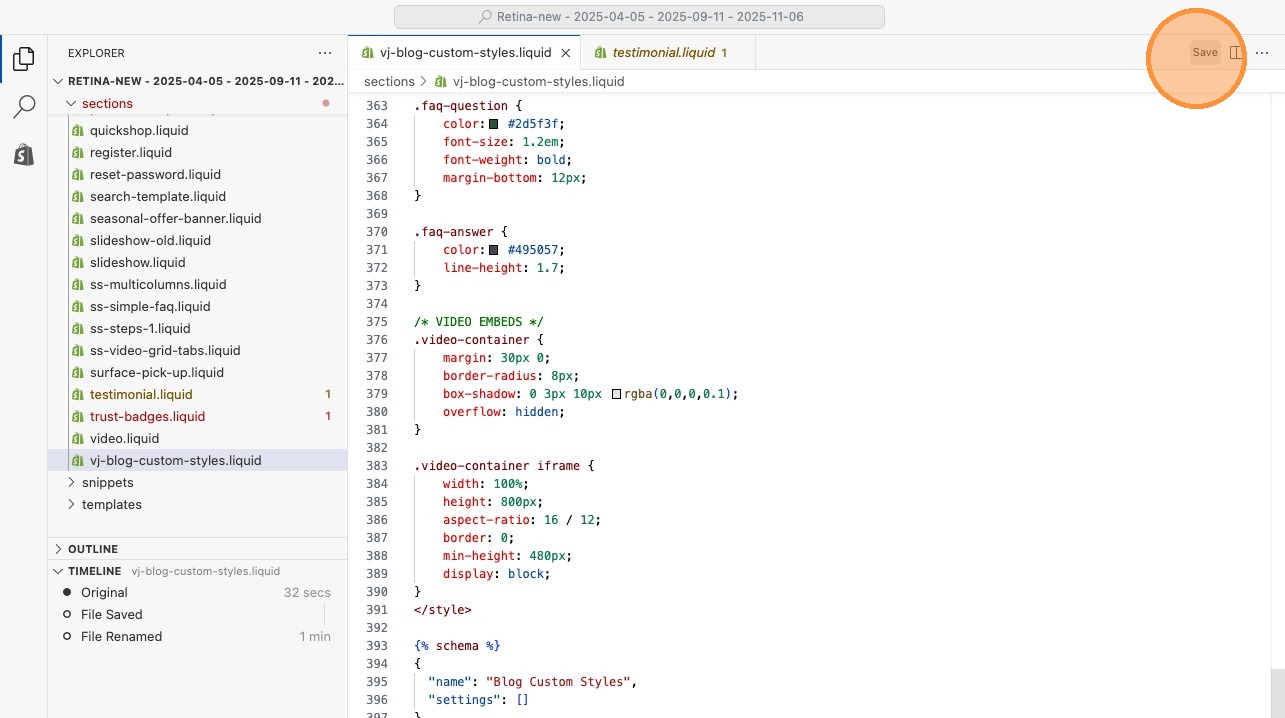
{% endschema %}Step 7: Click "Save" to create the section file.
Understanding the Code
Let's break down what this section does:
-
Line 1: Assigns the selected metaobject to a variable called
blog_styles - Line 3: Checks if CSS code exists in the metaobject
-
Lines 4-6: Outputs the CSS wrapped in
<style>tags - Lines 8-25: Schema definition that makes this section work in the customizer
presets block (lines 21-25) is ESSENTIAL for sectioned themes like Retina, Turbo, and Empire. Without it, your section won't appear as an option in the theme customizer. OS 2.0 themes don't strictly require this, but including it ensures compatibility across all theme types.Adding the Section to Your Blog Template
Now that your section file exists, you need to add it to your blog post template so it loads on every blog post automatically.
Step 1: Navigate back to Online Store → Themes and click "Customize" on your active theme.
Step 2: In the theme customizer, find the template selector dropdown at the top (it usually says "Homepage" by default). Click it and select "Blog posts."
Step 3: You should now see your blog post template layout. If you have multiple blog post templates, select "Default blog post" to ensure your styles apply to all posts.
Step 4: Click "Add section" and search for "Blog Styles" in the section list. Click to add it.
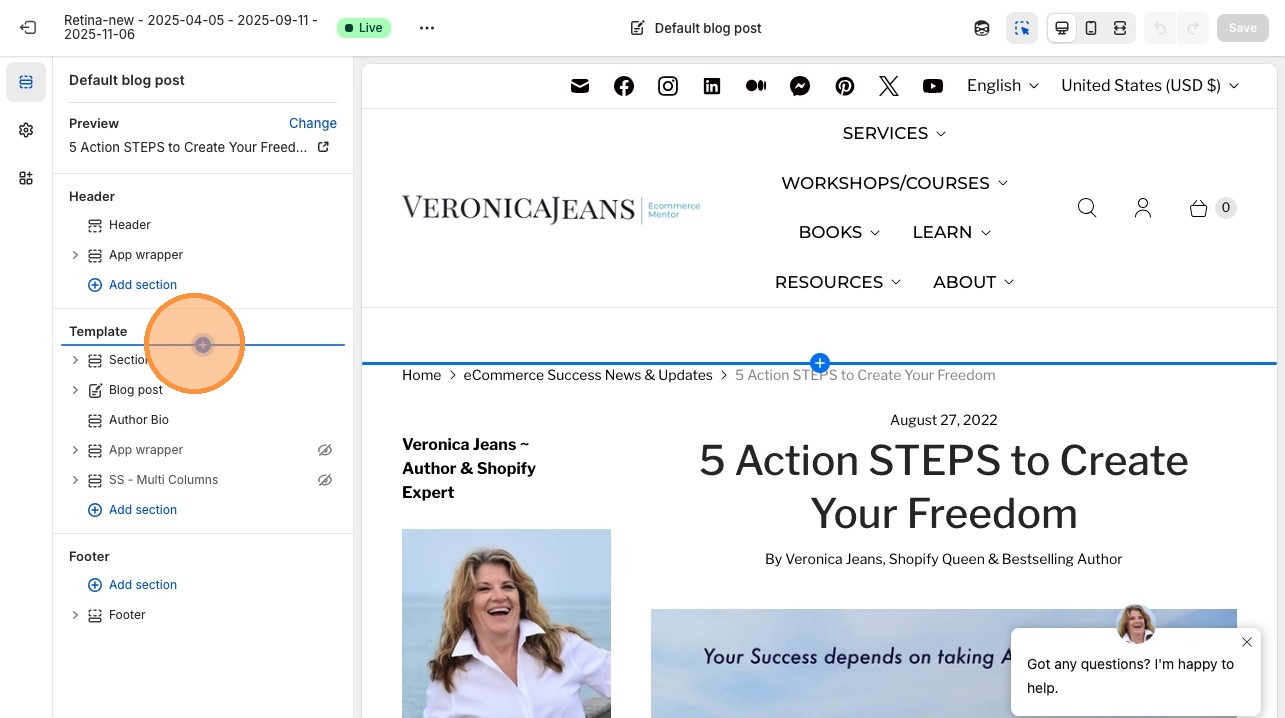
Step 5: Position the section near the top of your template (typically right after the header/navigation but before the main content area).
Step 6: With the Blog Styles section selected, look at the settings panel on the left. You should see a dropdown labeled "Select Blog Styles."
Step 7: Click the dropdown and select "Universal Blog Styles" (or whatever you named your metaobject entry).
Step 8: Click "Save" in the top right corner of the customizer.
What Most People Get Wrong
Mistake #1: Pasting CSS Directly Into Blog Post Content
I see this constantly—entrepreneurs paste <style> tags at the bottom of every single blog post. This creates nightmares:
- Updating styles requires editing dozens or hundreds of posts individually
- Inconsistency creeps in as styles drift across posts
- New team members don't know to include the CSS, so new posts look different
- Page source becomes bloated with repeated CSS on every page
❌ The Wrong Way
Paste this at the bottom of EVERY blog post:
<style>
h2 { color: blue; }
.callout { background: yellow; }
/* ...100 more lines... */
</style>
Result: Maintenance nightmare, inconsistent styling, wasted time
✅ The Right Way
Store CSS once in metaobject, reference it in a section that loads automatically on all blog posts.
Result: Update once, applies everywhere, consistent forever
Mistake #2: Modifying Theme Files Directly
Some developers add blog CSS to theme.css or theme.scss.liquid. Problems with this approach:
- Theme updates overwrite your customizations
- CSS applies globally (affects non-blog pages unexpectedly)
- Switching themes means losing all your styling work
- Can't easily create variations for different blog categories
Metaobjects survive theme changes. Your CSS data lives independently of your theme, so switching themes just means reconnecting the section—your styling logic stays intact.
Mistake #3: Forgetting the Presets Block
For older themes, omitting the presets block from your section schema means your section exists in code but never appears in the customizer. You'll waste hours wondering why you can't add your section, when the fix is literally three lines of JSON.
Mistake #4: Not Scoping CSS Properly
If you're adding CSS that targets generic selectors like h2 or ul, you need to scope it to blog posts only. Otherwise, you'll accidentally restyle your entire site. Wrap your CSS in a parent selector:
.template-article {
  h2 { /* Your h2 styles */ }
  ul { /* Your list styles */ }
}
Or use more specific selectors that only exist on blog posts: .article__content h2 instead of just h2.
Why Schema Markup Belongs in Your Blog CSS
Here's something most Shopify theme developers never tell you: your theme doesn't include comprehensive schema markup for blog posts. At best, you get basic Article schema. At worst, nothing at all.
What Schema Markup Does
Schema markup is structured data that helps search engines understand your content. For blog posts, proper schema tells Google:
- Who wrote the article (author schema)
- When it was published and updated
- The main topic and related topics
- Answers to common questions (FAQ schema)
- How-to steps (HowTo schema for tutorials)
- Organization information (who publishes the blog)
This structured data powers rich results in search—those FAQ dropdowns, star ratings, and detailed snippets you see in Google results. Without schema, you're invisible to these features regardless of how good your content is.
Why Include Schema in Your CSS Metaobject
Your blog CSS metaobject is the perfect place to include schema templates because:
- It loads on every blog post automatically
- You can update schema structure once and apply it site-wide
- It's theme-independent (survives theme changes)
- You can create different schema variations for different blog types
Example: Adding FAQ Schema to Your Blog Styles
In your CSS metaobject entry, after your CSS code, add schema templates:
/* Your CSS here */

/* FAQ Schema - Add this structure to blog posts with FAQ sections */
<script type="application/ld+json">
{
  "@context": "https://schema.org",
  "@type": "FAQPage",
  "mainEntity": [
    {
      "@type": "Question",
      "name": "Your question here",
      "acceptedAnswer": {
        "@type": "Answer",
        "text": "Your answer here"
      }
    }
  ]
}
</script>Schema Types Every Blog Should Include
- Article schema: Basic metadata about the blog post
- Author schema: Information about who wrote the content
- Organization schema: Your business information
- BreadcrumbList schema: Navigation path to the article
- FAQPage schema: For posts with FAQ sections
- HowTo schema: For tutorial-style posts with steps
Most of these can be standardized in your metaobject section, with dynamic elements pulling from individual blog post data.
Good Ideas vs Bad Ideas
Good Ideas: What Actually Works
✅ Create Style Variations
- Tutorial styles with step containers and code blocks
- Editorial styles with pull quotes and author bios
- Product review styles with comparison tables
- News styles with timestamps and categories
Multiple metaobject entries give you flexibility to match styling to content type.
✅ Document Your CSS Classes
- Create a style guide showing all available classes
- Include HTML examples for each component
- Share with team members and VAs
- Store in Notion, Google Docs, or project files
Documentation ensures consistent usage across your team.
✅ Version Control Your Styles
- Create dated entries: "Blog Styles v1.0 - Jan 2026"
- Test new styles in a separate entry first
- Easy rollback if changes break something
- Track evolution of your brand over time
Metaobjects make A/B testing styles simple and safe.
✅ Include Accessibility Features
- Proper color contrast ratios
- Focus states for interactive elements
- ARIA labels in your HTML components
- Responsive font sizing
Accessible blogs reach more readers and rank better in search.
Bad Ideas: What to Avoid
❌ Over-Styling Everything
- Excessive animations and transitions
- Too many colors and font variations
- Heavy JavaScript dependencies
- Overly complex grid layouts
Simple, clean styling converts better than "look at me" designs. Your content should shine, not your CSS tricks.
❌ Ignoring Mobile Experience
- Desktop-only layouts that break on mobile
- Tiny touch targets for buttons/links
- Fixed widths that cause horizontal scrolling
- Huge images that slow mobile loading
60-70% of your blog traffic is mobile. If your custom styles break mobile, you're losing most readers.
❌ Using !important Excessively
- Creates CSS specificity wars
- Makes future updates nearly impossible
- Indicates poor CSS architecture
- Causes unexpected style conflicts
If you need !important everywhere, your CSS structure needs rethinking, not more force.
❌ Copying CSS Without Understanding
- Bloated code with unused styles
- Conflicting rules from different sources
- Breaking existing theme functionality
- Can't troubleshoot when issues arise
Understand every line you add, or hire someone who does. Random CSS from ChatGPT creates more problems than it solves.
Frequently Asked Questions
Do I need to know how to code to set up blog styles with metaobjects?
You need basic comfort with following technical instructions, but you don't need to be a developer. The process involves copying and pasting code snippets in specific locations—if you can follow a recipe, you can do this. The trickiest part is understanding your theme's architecture (sectioned vs OS 2.0), which I've explained in this guide. If you get stuck, hire a Shopify developer for an hour to set it up once—after that, you can manage the CSS content yourself without touching code again.
Will my custom blog styles break when I update my theme?
Metaobjects and their data survive theme updates because they live in Shopify's database, not in theme files. However, the section file you created (blog-styles-metaobject.liquid) exists in your theme code, so theme updates could potentially overwrite it. Best practice: before updating your theme, duplicate your live theme, test the update on the duplicate, then check if your blog styles section still exists. If the update removed it, simply recreate the section file (takes 2 minutes) and reconnect it to your metaobject. Your actual CSS data remains safe in the metaobject regardless of theme changes.
Can I use different styles for different blog categories or tags?
Yes, and this is where metaobjects really shine. Create multiple metaobject entries (Tutorial Styles, Editorial Styles, Product Review Styles, etc.), then modify your section to conditionally load different styles based on blog tags or other criteria. This requires adding some Liquid logic to your section file—for example, checking if the blog post has a specific tag and loading the corresponding metaobject entry. For most businesses, though, maintaining consistent styling across all blogs builds stronger brand recognition than varying styles by category.
What if my section doesn't appear in the theme customizer after I create it?
This almost always means you're using a sectioned theme (like Retina, Turbo, Empire) and forgot to include the presets block in your schema. Go back to your section file and verify that the schema includes the presets array as shown in this guide. After adding it, save the file and refresh your theme customizer—the section should appear. If it still doesn't show, check that the metaobject_type in your schema exactly matches the type you created in metaobjects (typically blog_styles with an underscore, not a hyphen).
Should I add my CSS to the metaobject or directly to the section file?
Always put CSS in the metaobject entry, not hardcoded in the section file. The section file should only contain the Liquid logic that pulls CSS from the metaobject and outputs it. This separation gives you massive flexibility: update CSS from the Shopify admin without touching code, create multiple style variations easily, delegate CSS updates to team members who don't have theme file access, and maintain clean separation between structure (section) and content (metaobject). The only time you'd hardcode CSS in the section is for extremely simple implementations that will never change—which defeats the purpose of this entire system.
How do I know if my blog CSS is actually loading on my posts?
Visit any blog post on your live site, right-click, and select "View Page Source" (or "Inspect"). Search the source code for a distinctive comment or class name from your CSS—for example, search for "VERONICA JEANS BLOG STYLE GUIDE" if you included that comment in your CSS. If you find it, your styles are loading correctly. You can also use browser developer tools (F12) to inspect elements and see which CSS rules are being applied. If your styles aren't loading, check that: (1) your metaobject entry has CSS in it, (2) your section is added to the blog posts template in the customizer, (3) you've selected the correct metaobject entry in the section settings.
Can I include JavaScript in my metaobject along with CSS?
Yes, you can include JavaScript wrapped in <script> tags in your metaobject CSS field. The section outputs whatever content is in the metaobject, so JavaScript works fine. This is useful for interactive elements like accordions, tabs, or dynamic content manipulation. However, for complex JavaScript functionality, consider creating a separate metaobject field specifically for scripts, or better yet, add scripts to your theme's main JavaScript file to avoid duplicating code on every page load. Reserve the metaobject approach for blog-specific interactivity that doesn't belong in your global JavaScript.
What happens to my blog styles if I switch to a completely different theme?
Your metaobject data (the CSS itself) remains completely safe because it lives in Shopify's database independently of themes. When you switch themes, you'll need to recreate the section file in your new theme and add it to the new theme's blog post template. This takes about 5 minutes—copy the section code, paste it into a new section in the new theme, add the section to the blog template, connect it to your metaobject. Your CSS might need adjustments to work with the new theme's structure (different class names, different base styles), but having it centralized in a metaobject makes this process much easier than hunting through scattered blog posts for hardcoded styles.
The Bottom Line on Blog Styling
Custom blog CSS isn't optional if you're serious about content marketing. Default theme styling makes your expertise look amateur, reduces time-on-page, and loses readers before they convert. The metaobject approach I've shown you here solves every common problem: it's maintainable, scalable, theme-independent, and team-friendly.
Set this up once, and you never paste CSS into individual blog posts again. Update your styling in one place, and every blog post instantly reflects the change. Create style variations for different content types without managing hundreds of files. Train team members to use standardized classes without teaching them CSS.
Most importantly, this system grows with your business. Start with basic styling today, add FAQ schema next month, implement tutorial step containers next quarter, create category-specific variations next year. Your architecture supports all of it without rebuild.
The difference between blogs that convert and blogs that bounce? Professional presentation that makes readers trust your expertise enough to buy. Now you have the system to deliver that consistently across every piece of content you publish.
